Cherry Vertuta
Description
Homemade pastry for tea. I suggest making cherry vertuta. In summer, it's best to use fresh cherries, while in winter you can bake vertuta with frozen berries—either way, it turns out delicious! It's very important to make the vertuta truly tasty and tender—roll the dough as thin as possible. You can bake the finished vertuta as a roll or coil it into a spiral. The recipe is actually simple, the dough is easy to work with, and I highly recommend mastering this wonderful pastry. Serve with tea or coffee.
Instructions
- 1
Step 1
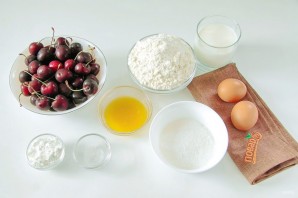
1. Prepare all the necessary ingredients.
- 2
Step 2

2. In a deep bowl, combine milk, one egg yolk, and 1 tbsp of melted and cooled butter.
- 3
Step 3
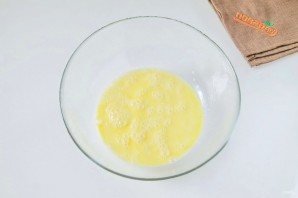
3. Beat.
- 4
Step 4
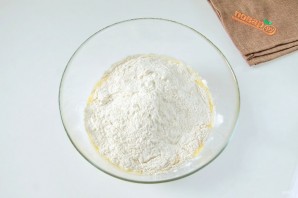
4. Add flour, a pinch of salt, and 0.5 tsp of sugar.
- 5
Step 5
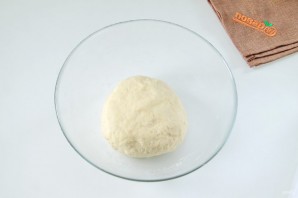
5. Knead a soft and elastic dough.
- 6
Step 6

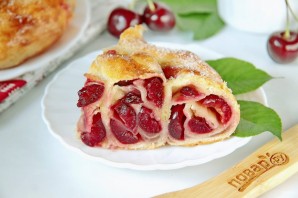
6. Wash the cherries, dry them, and cut them in half, removing the pits.
- 7
Step 7
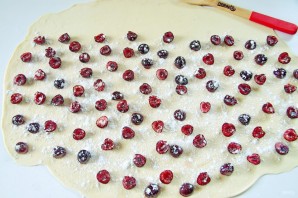
7. Lightly dust the work surface with flour and roll out the dough into a very thin, translucent sheet, gently stretching it with your hands if needed. Evenly spread the filling over the rolled-out dough, leaving a small border along one edge. Sprinkle the berries with starch and sugar.
- 8
Step 8
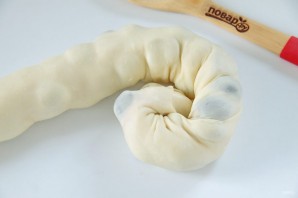
8. Roll it tightly into a log. Then, slightly twisting it in a spiral, coil it into a snail shape.
- 9
Step 9
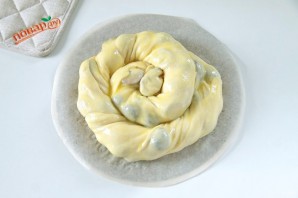
9. Transfer the vertuta to a baking sheet lined with parchment paper and brush with egg yolk.
- 10
Step 10
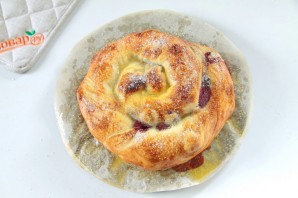
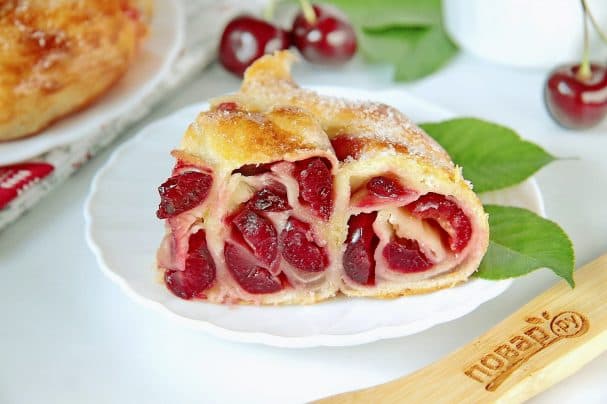
10 Bake at 180 degrees for about an hour. Then remove from the oven and brush the still hot pastry all over with the remaining butter, then generously sprinkle with sugar.
- 11
Step 11

11. Cherry vertuta is ready.
- 12
Step 12
12.