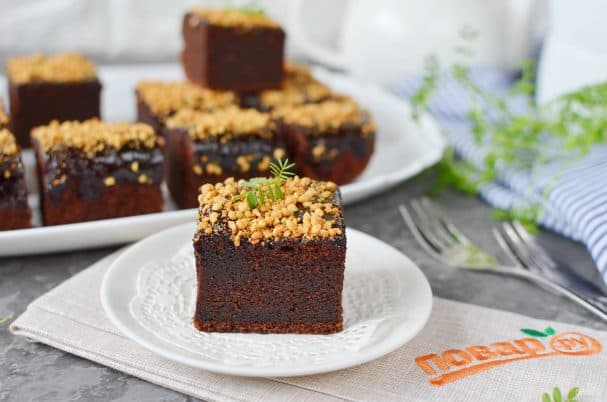
Chocolate cupcakes
Description
At first glance it may seem like brownies, but no, this recipe contains neither chocolate nor butter; it’s simple and budget‑friendly. But what a flavor! These are the most delicious chocolate cakes! Anyone can make this; the process is very simple: make the glaze, bake the sponge, and put it all together. The main secret is that the sponge doesn’t need to cool—immediately (while still hot) pour the glaze over it and let it set. After a few hours you’ll see the glaze harden; it holds up perfectly, doesn’t break when the cakes are sliced, and simply melts in your mouth. Serve it cooled or slightly warm.
Instructions
- 1
Step 1
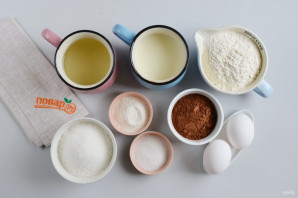
Prepare the ingredients. Preheat the oven to 170‑180 degrees. Let's get started!
- 2
Step 2
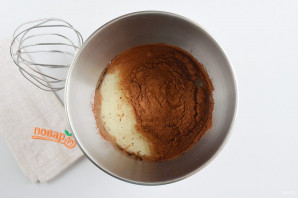
Pour the milk and vegetable oil into the mixer bowl, then add the sugar and cocoa.
- 3
Step 3
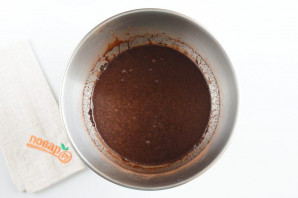
Whisk for 3-4 minutes.
- 4
Step 4
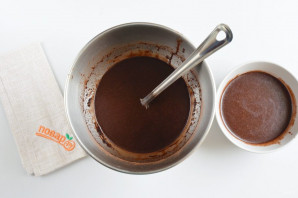
Divide the chocolate mixture into 2 equal parts. Set one aside for now; you will need it later for the glaze.
- 5
Step 5
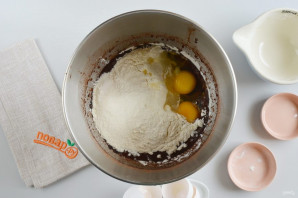
To the second half of the dough that remained in the mixer bowl, add flour, vanilla sugar, baking powder, and eggs.
- 6
Step 6
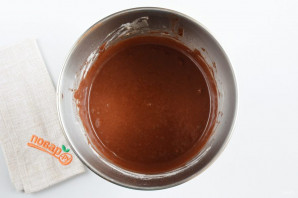
Whisk with a mixer at maximum speed for a couple of minutes to eliminate lumps. The mixture should turn out not too thick, smooth.
- 7
Step 7
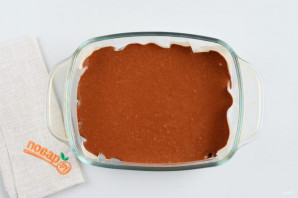
Pour the batter into a cupcake baking pan, preferably a small rectangular one, so that the height of the liquid batter does not exceed half the pan. I took extra precautions and lined the bottom with parchment, but that's not necessary; the finished cupcakes release easily from the pan. The ideal option is a silicone mold.
- 8
Step 8
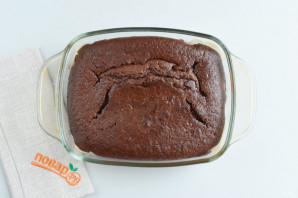
Bake in the oven at 170‑180 °C for 30 minutes. Check the sponge cake’s doneness with a toothpick; it should come out dry. If not, bake for another 10 minutes, no more.
- 9
Step 9
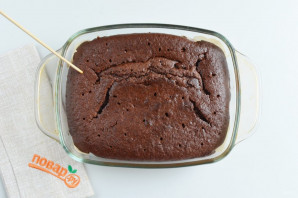
Remove the baked sponge cake from the oven immediately and poke it in several places with a skewer.
- 10
Step 10
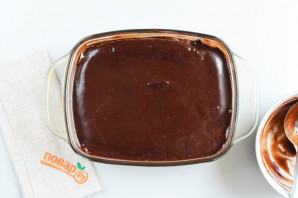
Pour the glaze over the sponge cake. Place it in a cool place for at least 4 hours. This amount of time is enough for the glaze to stabilize and partially absorb into the sponge.
- 11
Step 11
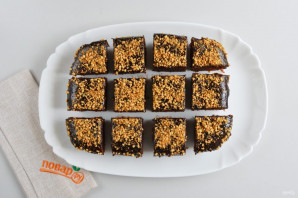
Cut the finished sponge cake into pieces. Decorating the pastries is optional; they have a wonderful glaze. But I wanted something special, so I sprinkled the still‑not‑fully‑set glaze with ground roasted peanuts. You can garnish with whipped cream or seasonal berries—it will look festive and be healthy.
- 12
Step 12
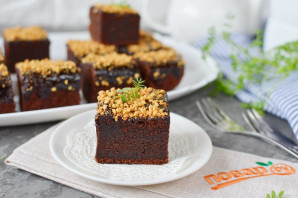
Done. Serve at the table.