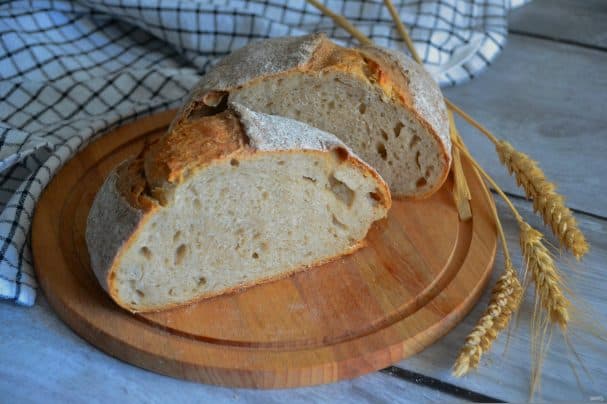
Kvass bread
Description
The recipe won't take much active time. Making kvass bread isn't difficult, but it does take a long time. Even so, it's a very engaging process. The starter you get from this long process can be kept in the refrigerator for years, and you can bake real bread from it—the kind you won't find in any store or bakery. Serve it with tea or coffee.
Instructions
- 1
Step 1
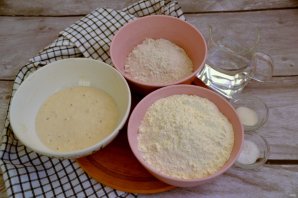
Prepare the ingredients according to the recipe. By the time you mix the dough, the starter and the sponge made from it should be ready; you need to start preparing them about 5 days before mixing the dough.
- 2
Step 2
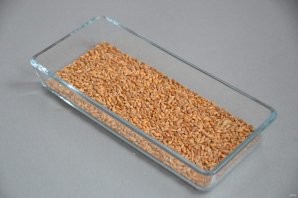
To prepare the starter, take 100 grams of wheat for sprouting. Pour the wheat into a sprouting container.
- 3
Step 3
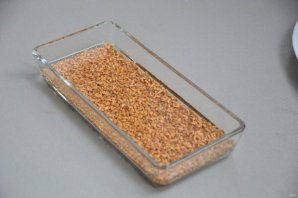
Pour water over the wheat so it is covered, with the water level even with the top of the grain.
- 4
Step 4
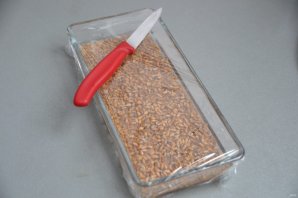
Cover with plastic wrap, poke a few small holes with a knife, and leave at room temperature for 24 hours.
- 5
Step 5
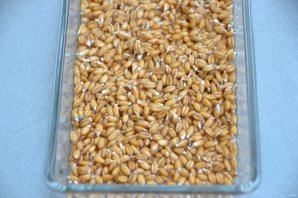
After 24 hours, sprouts should appear.
- 6
Step 6
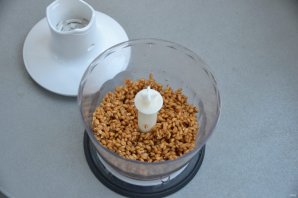
Blend the rinsed sprouted wheat in a blender.
- 7
Step 7
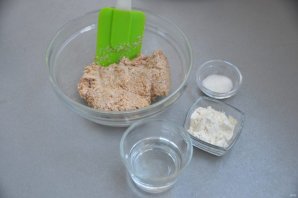
Take 50 grams of ground sprouted wheat, 1 tsp. sugar, 50 grams of water, and 50 grams of high-protein wheat flour (at least 13% protein). Mix everything together, cover with plastic wrap, and leave at room temperature for 24 hours.
- 8
Step 8
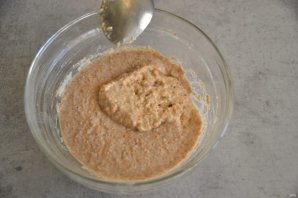
After 24 hours, remove the top layer from the starter; do not use it. Take 50 grams from the bottom layer.
- 9
Step 9
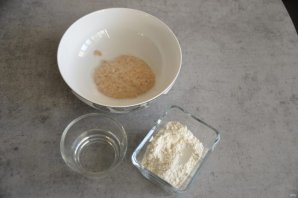
Feed the starter again using the 1:1:1 ratio: 1 part starter, 1 part water, and 1 part high-protein flour.
- 10
Step 10
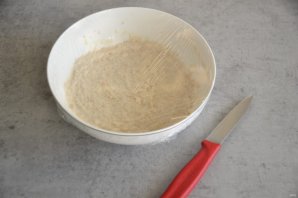
Feed the starter in the same way for a few more days until it gains strength.
- 11
Step 11
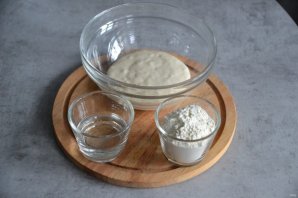
8–10 hours before mixing your first loaf of bread, prepare the sponge. For this, take 50 grams of starter, 100 grams of flour, and 50 grams of water.
- 12
Step 12
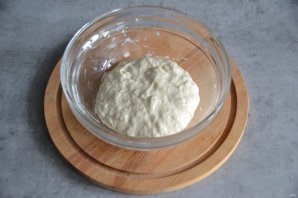
Mix the starter, flour, and water. Cover with plastic wrap and leave at room temperature for 8–10 hours.
- 13
Step 13
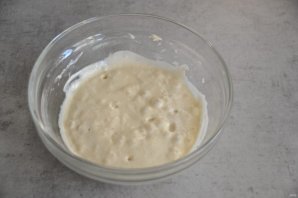
The sponge ready for kneading the dough should have active bubbles.
- 14
Step 14
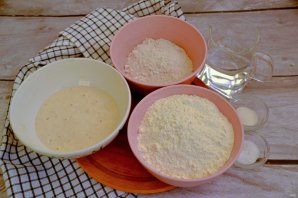
Prepare the ingredients for making bread, including the previously prepared sourdough starter.
- 15
Step 15
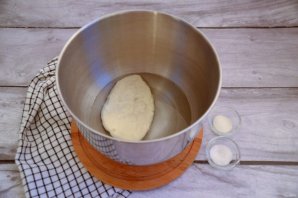
Pour room-temperature water into the dough mixing bowl. Add the starter, salt, and sugar, and mix.
- 16
Step 16
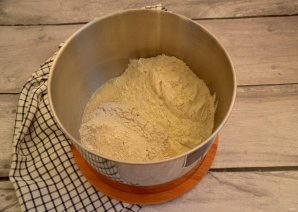
Add all the flour and knead the dough by hand or with a mixer.
- 17
Step 17
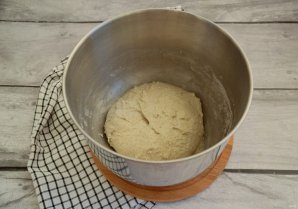
Shape the dough into a ball, cover with plastic wrap and a towel, and let rest at room temperature for 1 hour.
- 18
Step 18
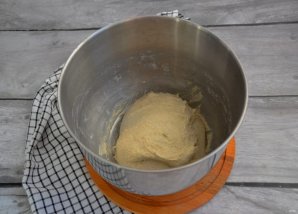
After one hour, perform the first stretch and fold, then leave for another hour. After one hour, fold the dough again. Cover the dough and leave to ferment for another 1 hour. You will need to perform 2–3 folds in total. Total fermentation time is 3 hours.
- 19
Step 19
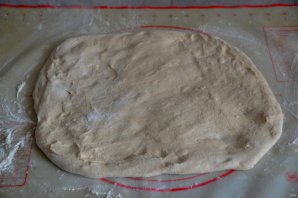
Dust the table with flour, place the dough on it, and stretch it into a sheet.
- 20
Step 20
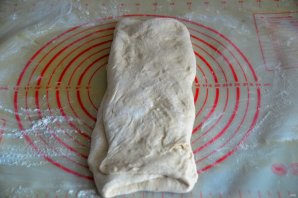
Fold the dough as shown in the photo, pulling the edges of one-third of the dough toward the center.
- 21
Step 21
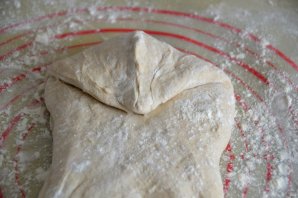
Begin shaping the bread. Pinch the top edge of the dough as shown in the photo.
- 22
Step 22
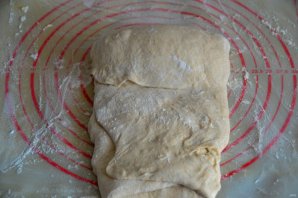
Make one turn of the dough with a “toward you” motion and pinch to seal. In the same way, make several more turns, rolling the dough into a log and pinching after each turn.
- 23
Step 23
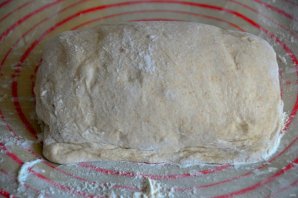
Pinch the edge of the dough after the final rolling of the dough into a roll.
- 24
Step 24
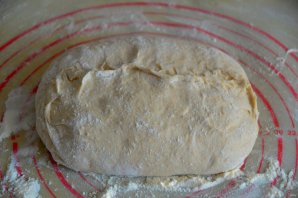
Pinch the dough along the sides, tucking the ends inward to round it.
- 25
Step 25
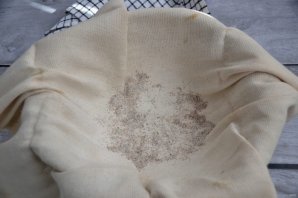
Prepare a proofing basket; it can be any container. Line it with a dense cloth and dust the cloth generously with flour, to which you can add a little bran.
- 26
Step 26
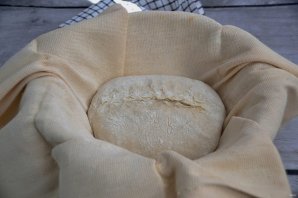
Place the shaped bread dough into the prepared pan seam-side up, and cover with the ends of the cloth to prevent drying out. Leave to rise for 2–3 hours. Proofing time depends on room temperature and starter activity. The dough should increase in volume by about 1.5–2 times.
- 27
Step 27
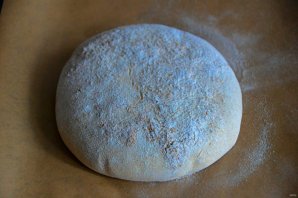
Preheat the oven to 250 degrees on the top-bottom setting. Prepare the bread for baking. Carefully place it on a baking sheet seam side down.
- 28
Step 28
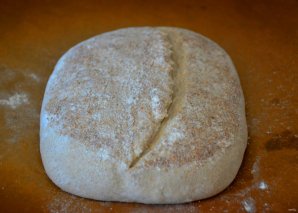
Make a shallow cut on top with a sharp knife or a razor blade.
- 29
Step 29
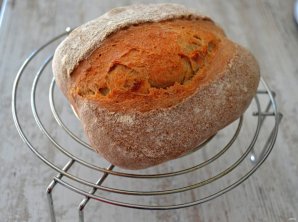
Bake for the first 10 minutes at 250 degrees, then switch the temperature to 180 degrees and bake for another 40 minutes. Place the finished bread on a rack until completely cooled.
- 30
Step 30
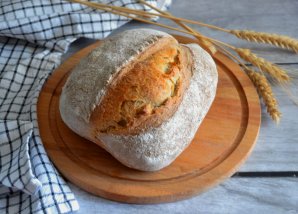
When the bread has completely cooled, it can be served.
- 31
Step 31
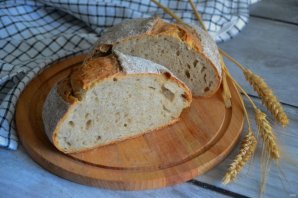
The bread has a thin, crisp crust, a porous crumb, and the flavor of real bread—bread born from bread itself, that is, from wheat. After all, we made our first starter from sprouted wheat grain.