
Rice croquettes with apricots
Description
The dish is prepared without unnecessary complications. Choose sweet, firm apricots that easily separate into two halves for the croquettes. The finer the breadcrumbs, the denser and more delicate the outer coating of the croquettes will be. Use odorless oil with a high smoke point for frying—it's healthier and won't impart any unwanted aftertaste. Serve the dessert immediately.
Instructions
- 1
Step 1
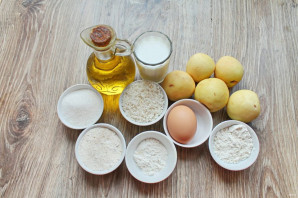
Prepare all the necessary ingredients for making rice and apricot croquettes. Wash the fruits and dry them.
- 2
Step 2
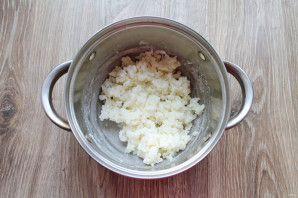
Bring the milk to a boil, add 10 grams of sugar, washed rice, and cook over medium heat into a thick porridge. Remove the pot with porridge from the heat and let it cool.
- 3
Step 3
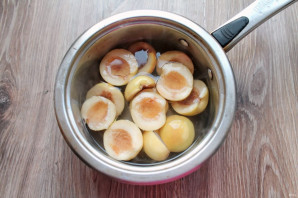
Pour water into a saucepan, add sugar, and boil for 3 minutes after boiling. Remove the pits from apricots, dividing them into two halves. Place the halves into the syrup and blanch the apricots over low heat for 3 minutes. Remove the halves and dry them on a paper towel.
- 4
Step 4
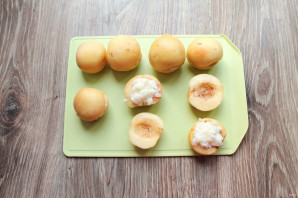
Form balls from the rice porridge, place a pit inside each one, and join the halves to make whole apricots.
- 5
Step 5
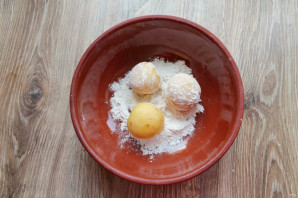
Roll the apricots in flour.
- 6
Step 6
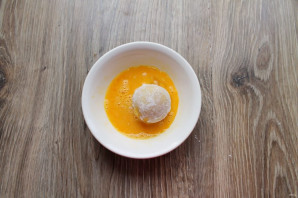
Break the egg into a bowl and mix. Place the croquettes into the egg and coat them completely.
- 7
Step 7

Transfer the croquettes to the breadcrumbs and coat them thoroughly.
- 8
Step 8
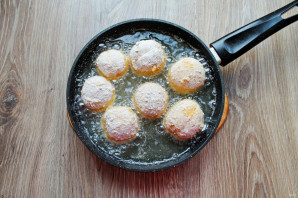
Heat the vegetable oil and add the croquettes. Fry them over medium heat until golden brown on all sides, about 6-7 minutes each side.
- 9
Step 9
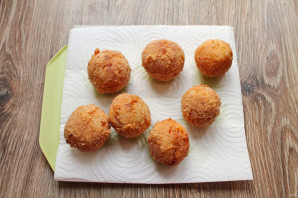
Remove the ready rice croquettes with apricots and place them on a paper towel to remove excess oil. Let them cool slightly, sprinkle with powdered sugar, and serve.
- 10
Step 10

Done.