
Walnut Halva
Description
The recipe won't take much time. What child could possibly refuse delicious halva bars? Even adults happily enjoy this healthy treat from sunny Georgia. If you're interested, serve chilled.
Instructions
- 1
Step 1
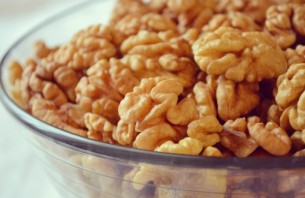
First, choose the right walnuts; they should be light and fresh.
- 2
Step 2
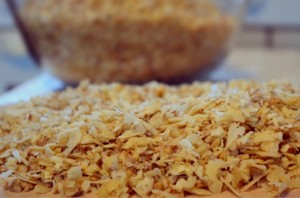
Now the most difficult part: the nuts need to be chopped. Of course, you can use a blender, but the result is always better when chopping the nuts with a knife.
- 3
Step 3
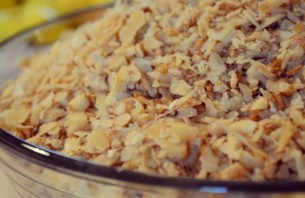
The nuts should not resemble crumbs in consistency, but should be slightly coarser.
- 4
Step 4
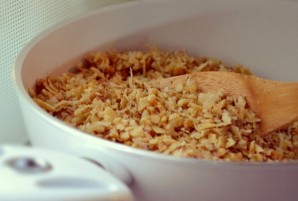
Now pour the chopped nuts into a saucepan with a thick bottom or into a skillet and toast them without adding oil, stirring occasionally. Toast for about 10-12 minutes.
- 5
Step 5
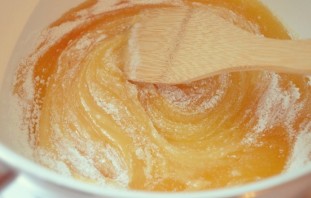
Next, we place the honey into a heavy-bottomed saucepan and mix it with powdered sugar.
- 6
Step 6
Place the pot over medium heat and heat the mixture, stirring, but do not bring it to a boil.
- 7
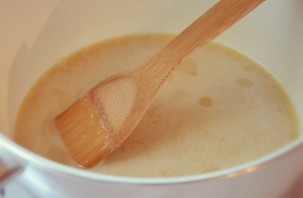
Step 7
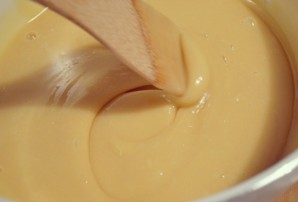
Remove the pot from the heat and continue stirring the honey until it begins to cool and thicken. When the honey has almost cooled down, heat it again and let it cool once more; repeat this process twice, meaning the honey is heated and cooled a total of three times. After this procedure, we place the pot on the heat for the fourth time; as soon as the honey starts to melt slightly, remove it from the heat and add the chopped nuts to the pot, mixing everything thoroughly.
- 8
Step 8
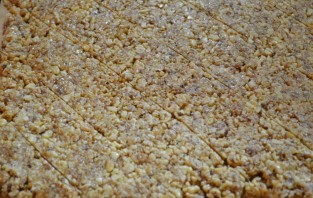
Now moisten a large cutting board with water and place the mixture onto it. Quickly roll it out with a wet rolling pin before the honey hardens, until you get a layer about 1 cm thick.
- 9
Step 9
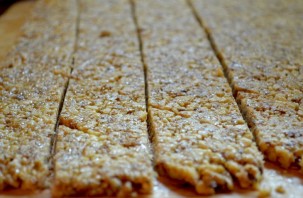
With a wet knife, cut the slab into small rhombuses and place the halva pieces onto a plate.
- 10
Step 10
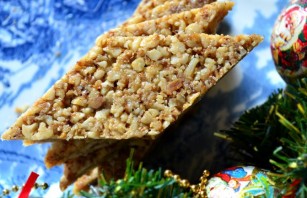
And that's it—our treat is ready, and by the way, it stays fresh for quite a long time. Enjoy your meal!