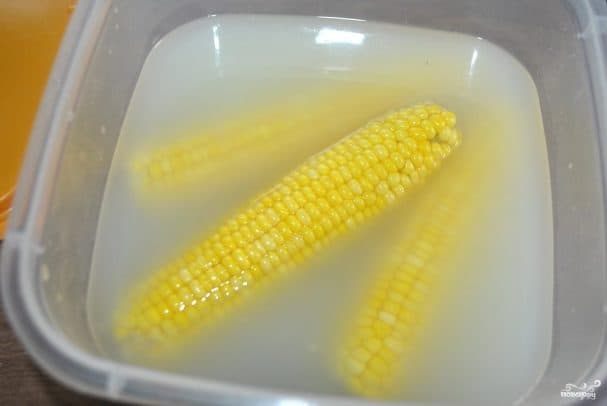
Canned Corn on the Cob for Winter
Description
Winter preserving at home. To make canned corn on the cob for winter, you will need a large barrel or container with a capacity of about 20 liters. Preserving corn for winter is simple and quick. The only catch is that you will have to wait about 4 weeks for the result. During the salting process, you can salt the cobs again if you feel there is not enough salt. You can try the corn on the 8th day and add more salt. Canned corn on the cob for winter works well as a snack, as a salad ingredient, or in soup. Try it. Serve at the table or store in the pantry.
Instructions
- 1
Step 1
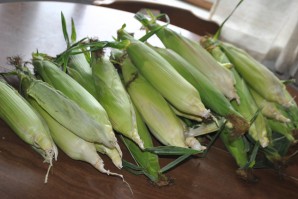
1. Prepare a barrel or a large container and wash it. Clean the corn cobs.
- 2
Step 2
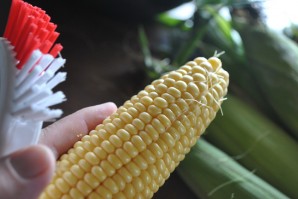
2. You can use a soft brush to remove the fibers from the cobs.
- 3
Step 3
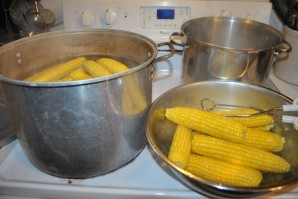
3. Sweet corn cobs should be boiled in unsalted water for 5 minutes.
- 4
Step 4
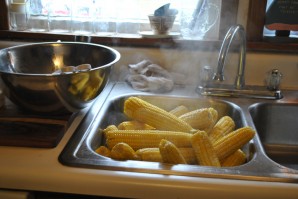
4. Then transfer the corn to a clean sink or another container and let it cool. Do not drain the water the cobs were boiled in!
- 5
Step 5
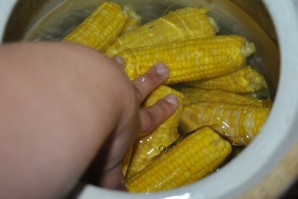
5. Salt the water and stir well until the salt dissolves. Meanwhile, place the cooled cobs in a barrel or a very large container. Cool the water and pour it over the corn in the barrel. The water should cover the cobs.
- 6
Step 6
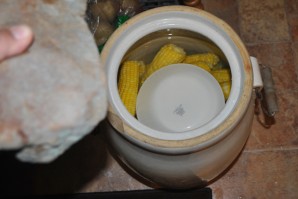
6. Place a plate on the cabbage heads in the water and weigh it down. A natural stone will work.
- 7
Step 7
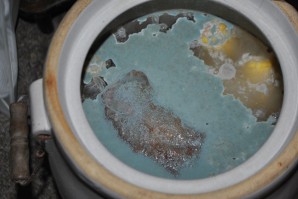
7. Cover the top of the barrel with muslin or another cloth. The barrel should stand in a cellar or another cool place for 8 days. Then remove the film that has formed.
- 8
Step 8
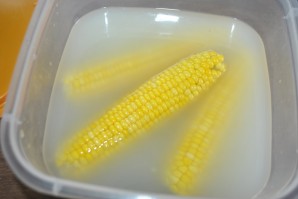
8. Thus, the corn should remain in the barrel for four weeks. After that, it can be eaten or canned in jars. If you want to can salted corn in jars, remove it from the water, cut off the kernels, and place them in sterile jars. Then strain the water, pour it in, and sterilize the jars. Seal the jars, and you’re done!