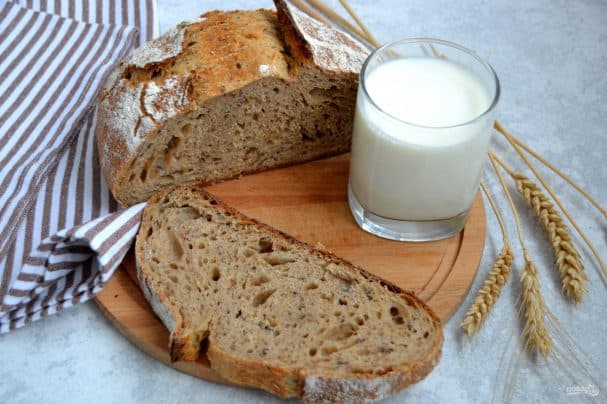
Live bread
Description
The recipe won't take much of your time. Making "live" bread isn't difficult, though it is time-consuming. But it's definitely worth it. You can use any sprouted grains—wheat, oats, or chickpeas. Keep feeding your established starter in whatever ratio works for you, for example 1:1:1 as in this recipe or another way. You can do this indefinitely. You won't find this kind of "live" bread in any bakery or pastry shop. You can also vary the amount of sprouted grains you add to the bread to your taste, while keeping the overall balance of dry and liquid ingredients. Serve with tea or coffee.
Instructions
- 1
Step 1
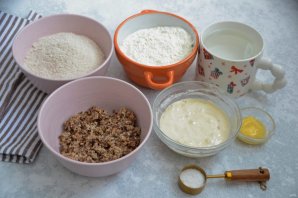
Prepare the ingredients for making bread. By this point, the sourdough starter and sprouted grains should be ready. See the following steps for how to do this.
- 2
Step 2
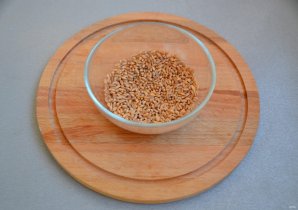
To prepare the starter, take 50 grams of wheat and rinse it. Cover with water; the water level should be 1.5–2 cm above the grains.
- 3
Step 3
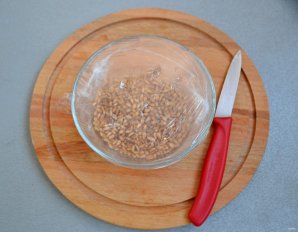
Cover the bowl with plastic wrap, poke a few small holes, and place in a warm spot for 24 hours.
- 4
Step 4
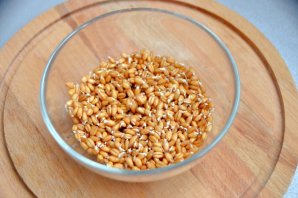
After 24 hours, small sprouts should appear; if that isn’t long enough, wait until they do.
- 5
Step 5
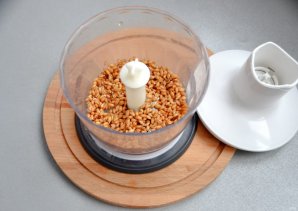
Grind the sprouted grains using any method; if some pieces of unground grains remain, that is acceptable.
- 6
Step 6
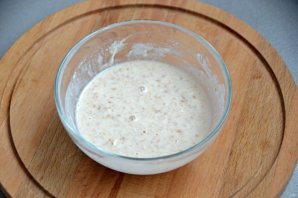
Take 50 grams of the resulting grain mass, 50 grams of water, and 50 grams of high-protein flour (at least 12% protein). Mix everything together, cover with plastic wrap, and leave at room temperature for 24 hours.
- 7
Step 7
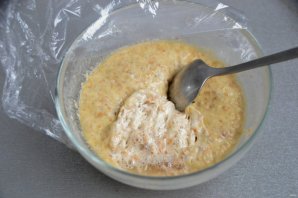
After 24 hours, remove the top layer of the starter, take 25 grams from the bottom part for further use.
- 8
Step 8
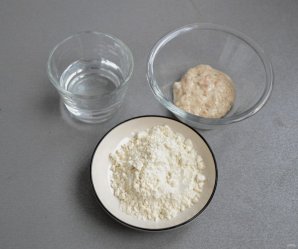
To prepare the next starter, use ingredients in a 1:1:1 ratio—that is, 25 grams of starter, 25 grams of high-protein wheat flour, and 25 grams of water. Refresh the starter every day until it matures and becomes sufficiently active. Continue feeding it this way for about 3–5 days, until the starter gains strength and can be used to bake your first loaf of bread.
- 9
Step 9
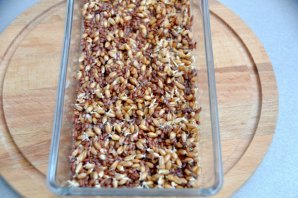
Two days before kneading the first loaf of bread, soak 50 grams of wheat berries and 30 grams of flax seeds. Follow the same procedure as in steps 2 and 3: rinse the grain, soak it in water, and cover with plastic wrap, poking holes in the wrap.
- 10
Step 10
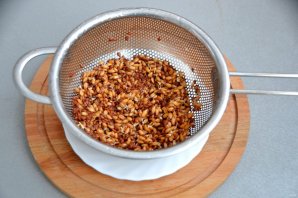
After 24 hours, rinse the soaked seeds through a sieve and soak them again in clean water to remove the slime that flax seeds release. Cover with plastic wrap again and leave for another 24 hours until strong sprouts appear.
- 11
Step 11
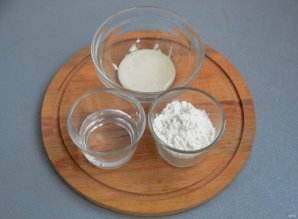
To make the leaven (about 5 days after you started cultivating the starter), once the grains have sprouted, mix 20 grams of starter, 50 grams of water, and 50 grams of high-protein wheat flour. Cover with plastic wrap and let rest for 8–12 hours.
- 12
Step 12
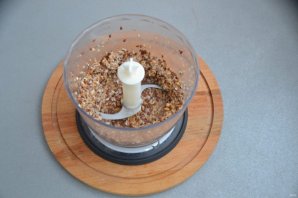
Grind the sprouted grains by any method. It is not critical if some of the grains remain unground.
- 13
Step 13
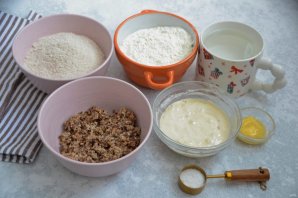
Return again to step one, to the moment of kneading the main dough, when both the starter and the sprouted grains are ready.
- 14
Step 14
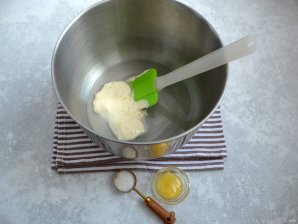
Pour 300 grams of water into the mixer bowl, mix in all of the sponge (120 grams), and add the salt and honey.
- 15
Step 15
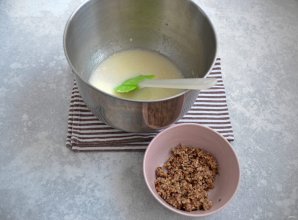
Mix in the crushed sprouted grains, about 100 grams; the weight may vary slightly, which is not critical.
- 16
Step 16
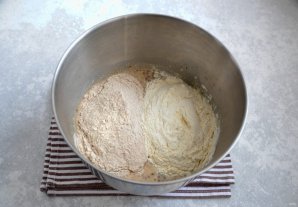
Pour in two types of flour — 200 grams of white flour with a high protein content and 200 grams of whole wheat flour.
- 17
Step 17
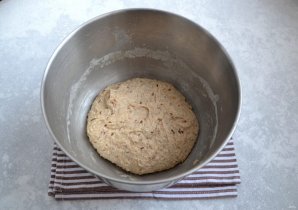
Using a mixer or your hands, knead the dough.
- 18
Step 18
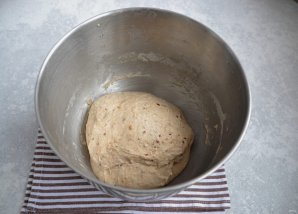
Three times, at 30–45 minute intervals, stretch and fold the dough using the stretch-and-fold method.
- 19
Step 19
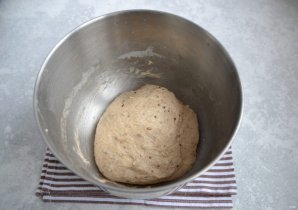
After three folds, cover the dough again with plastic wrap and refrigerate for cold fermentation for 12–16 hours.
- 20
Step 20
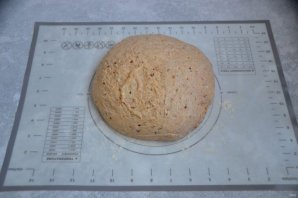
Finally, you can proceed directly to making the bread. Place the dough on a lightly floured work surface and shape it into a ball.
- 21
Step 21
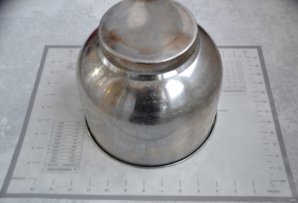
Cover with a bowl or large mixing bowl and let rest for 30 minutes.
- 22
Step 22
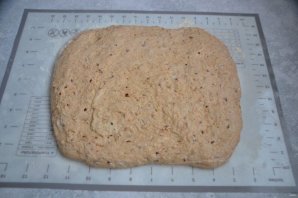
After 30 minutes, begin shaping the bread. Spread the dough into a flat sheet.
- 23
Step 23
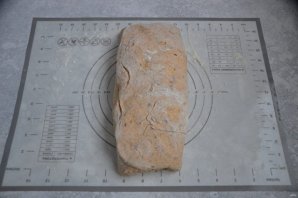
Fold the left and right edges of the dough toward the center, as shown in the photo.
- 24
Step 24
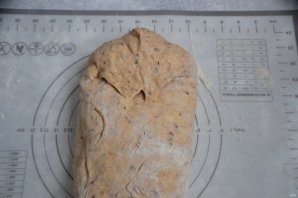
Pinch the top edge, joining the ends of the dough, as shown in the photo.
- 25
Step 25
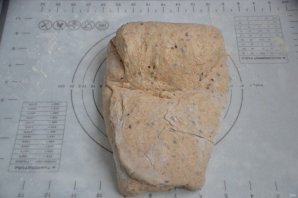
Roll the dough into a roll, as tightly as possible, toward yourself.
- 26
Step 26
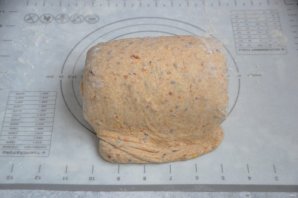
After rolling the dough into a log, press along the edge with the edge of your palm to seal the dough seam.
- 27
Step 27
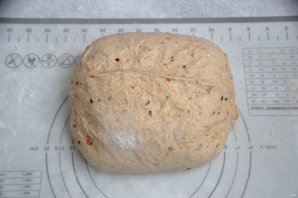
Pinch the sides of the bread closed.
- 28
Step 28
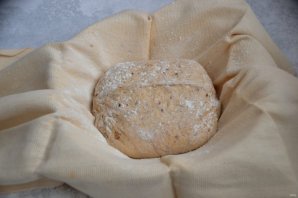
Place the bread dough seam-side up in a bowl lined with a cloth that has been well dusted with flour. Cover with the edges of the cloth and leave at room temperature for 45 minutes.
- 29
Step 29
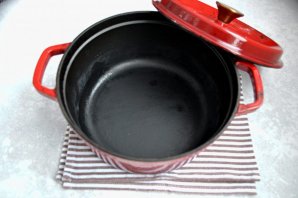
By the time proofing is finished, preheat the oven to 250 degrees along with the heavy-walled pot in which the bread will be baked.
- 30
Step 30
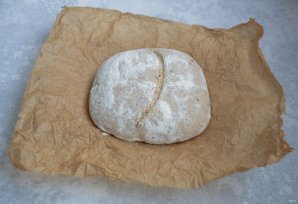
Moisten the baking paper with water, crumple it, and carefully place the bread seam side down. Score the bread with a blade or a sharp knife.
- 31
Step 31
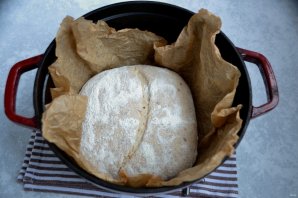
Place the bread together with the paper in a hot pot, cover with a hot lid, and put in the oven at 250 degrees for 30 minutes.
- 32
Step 32
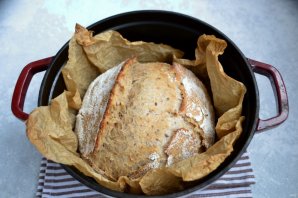
After 30 minutes, remove the pot from the oven, take off the lid, lower the oven temperature to 180°C, and bake the bread for another 20 minutes.
- 33
Step 33
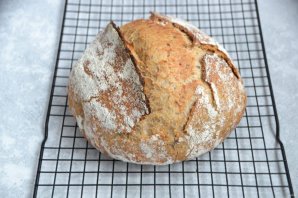
Cool the finished bread completely on a wire rack.
- 34
Step 34
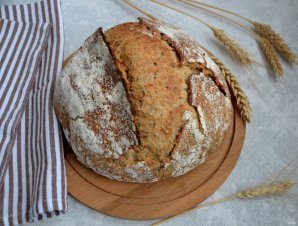
Serve the "live" bread at the table when it has completely cooled.
- 35
Step 35
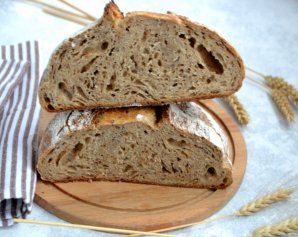
It has a beautiful cross-section with large pores and specks of grain throughout.
- 36
Step 36
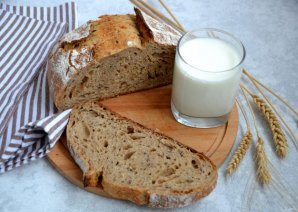
Nothing can compare to a slice of such bread with milk—it's so genuine, so "alive"!