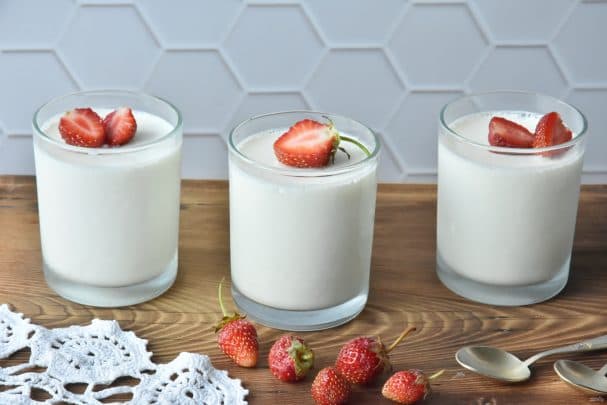
Yogurt in a yogurt maker
Description
The dish is prepared without unnecessary complications. As a starter, you can use plain store-bought yogurt labeled "contains live cultures" and without additives, or dry starter culture available at stores or any online marketplace. In my recipe, I prepared yogurt using both store-bought natural yogurt and dry starter culture. Both options yield a satisfying result in terms of taste and consistency of the finished yogurt. After making homemade yogurt, set aside a small portion for future fermentation. You will need just 2 tablespoons per 1 liter of milk. The ready dessert can now be served.
Instructions
- 1
Step 1
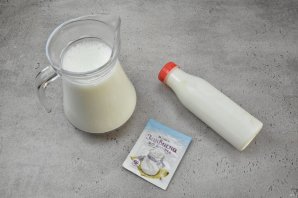
Prepare the ingredients. You can use any milk with any fat content to make yogurt. The higher the milk's fat content, the thicker the resulting yogurt will be.
- 2
Step 2
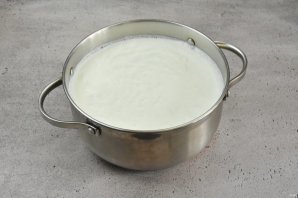
If using pasteurized milk, heat it until it's about to boil, but do not actually boil it—this is approximately 90 degrees. As soon as the milk is close to boiling, remove the pot from the heat. If using raw milk, you need to boil it, but make sure it doesn't stick to the sides or bottom of the pot. Boiling will destroy harmful microorganisms that may have entered the milk. Allow the milk to cool down to a temperature of 38–40 degrees.
- 3
Step 3
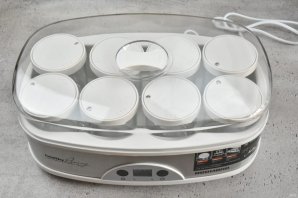
Prepare the yogurt maker for use.
- 4
Step 4
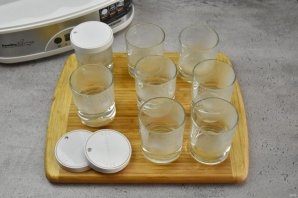
Remove the cups from the yogurt maker, wash them thoroughly with soda, and rinse with boiling water.
- 5
Step 5
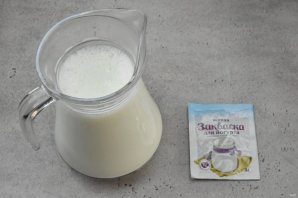
Also scald the dishes and utensils used in preparation with boiling water. Strain the milk to remove the foam.
- 6
Step 6
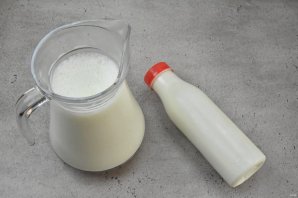
If using live yogurt, gently shake it, avoiding foaming.
- 7
Step 7
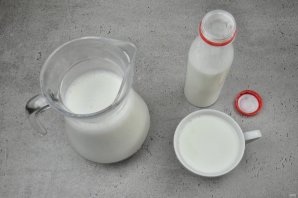
Pour 150 ml of plain live yogurt without additives into a container, add a little milk, stir, and pour into the prepared container with milk. Mix well.
- 8
Step 8
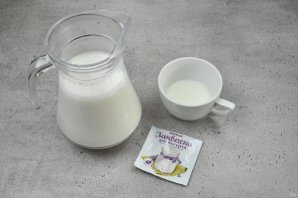
When using dry starter culture, mix it in a small amount of milk until completely dissolved, then combine with the main portion. Stir the milk to ensure the starter culture is evenly distributed throughout the volume.
- 9
Step 9
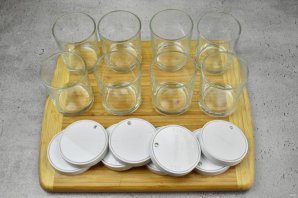
Prepare fermentation jars.
- 10
Step 10
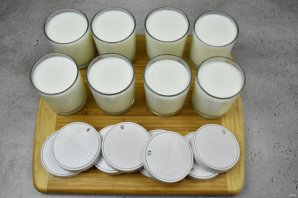
Carefully pour the milk with the starter culture into glasses, trying not to foam it.
- 11
Step 11
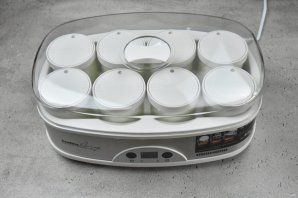
Place the cups in the yogurt maker. Cover with the lid.
- 12
Step 12
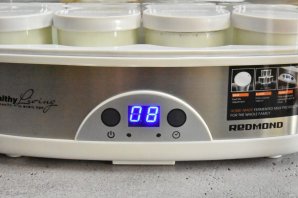
Connect the device to the power supply. Set the fermentation time according to the instructions and press "Start".
- 13
Step 13
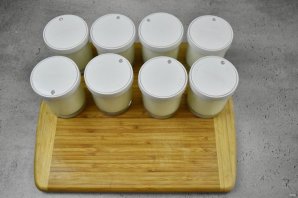
After the time has passed, remove the yogurt jars and place them in the refrigerator for 2-3 hours. Store the yogurt in the refrigerator for up to 7 days. You can mark the expiration date on the jar lid or label it with a marker.
- 14
Step 14

The yogurt turns out quite thick and dense, without a stretchy effect.
- 15
Step 15

Natural homemade yogurt is excellent for curbing hunger. Add muesli, nuts, berries, sweeten with honey, and you'll have the perfect product for a healthy breakfast.