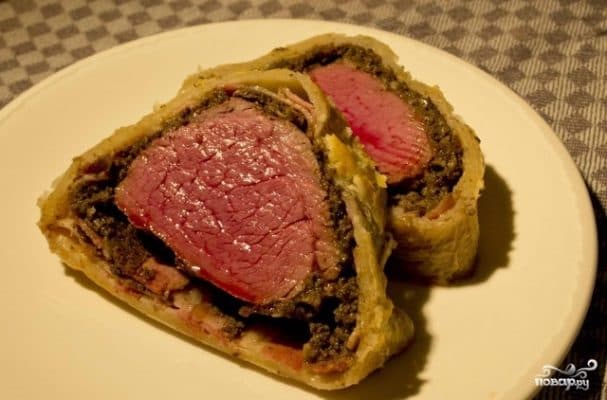
Beef Wellington
Description
When I first saw a recipe for beef Wellington, my initial thought was that I'd never be able to recreate it. But I took the risk, and it worked out—though not without some effort, of course. This dish has a very rich history, but it's still not entirely clear how it originated or where the name came from: some say it's named after the Duke of Wellington, while others believe it was simply invented in the city of Wellington, New Zealand. There are many theories, but one thing is undeniable—the dish tastes absolutely exquisite. Now I'd like to share with you the secret of making beef Wellington at home. Although you'll have to work a bit during the cooking process, the result is undoubtedly worth it.
Instructions
- 1
Step 1
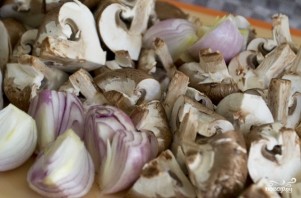
First, we need to cut the mushrooms and onions into quarters. We don't wash the mushrooms, as they will absorb moisture, which is not good for our dish.
- 2
Step 2
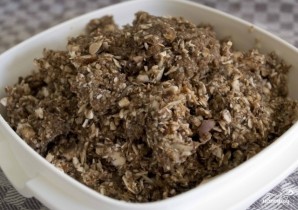
Using a food processor, grind the onion and mushrooms into a uniform mixture like this.
- 3
Step 3
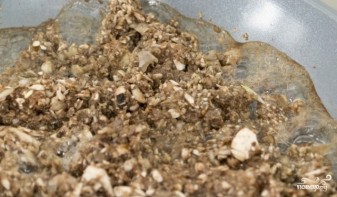
Now we heat the pan and place the mushroom and onion mixture on it. Fry over low heat until all the moisture has completely evaporated.
- 4
Step 4
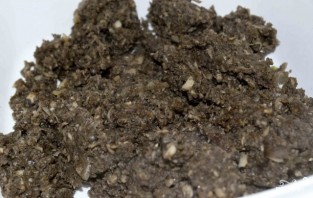
At the end, add salt and pepper and mix thoroughly.
- 5
Step 5
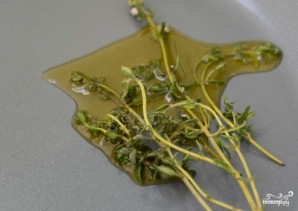
Then heat the pan again, this time adding a little olive oil. Throw in a couple of thyme sprigs and sauté for a couple of minutes.
- 6
Step 6
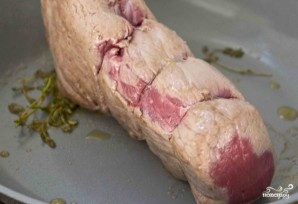
Now place the beef fillet in the pan and sear on high heat on all sides until golden brown crust forms. Never pierce the meat, as the juices may escape and the flavor will be compromised. Then transfer the meat to a plate and let it cool.
- 7
Step 7
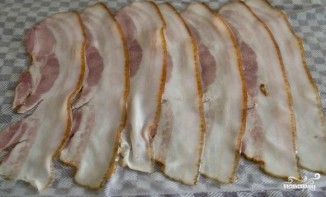
Now line the table with plastic wrap and place the bacon slices on it, slightly overlapping each other. We will wrap the meat in these bacon slices.
- 8
Step 8
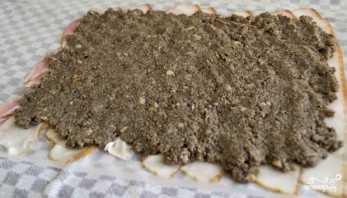
Then, evenly spread a thin layer of the mushroom and onion mixture over the bacon.
- 9
Step 9
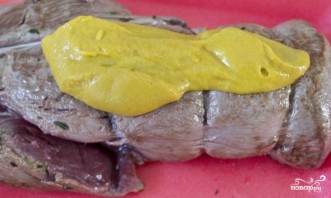
We thoroughly brush the cooled meat with mustard. By the way, it's the mustard that gives this dish its special piquancy, which I absolutely love.
- 10
Step 10
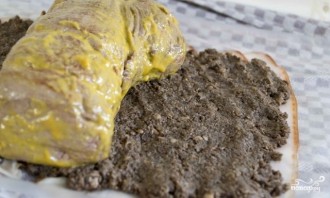
And now carefully place our meat right in the center of the bacon and mushroom paste layer.
- 11
Step 11
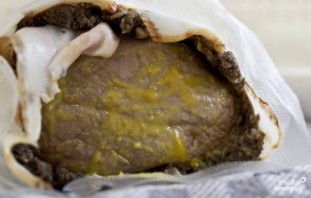
And carefully roll it up so that the meat is tightly wrapped. Place in the refrigerator for 20 minutes.
- 12
Step 12
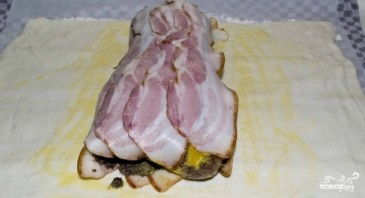
Meanwhile, we can roll out the dough so that we can completely wrap our roll in it. Now place it in the center of the dough and brush it all over with beaten egg.
- 13
Step 13
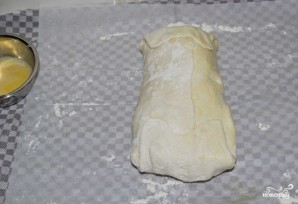
Fold into a packet and return to the refrigerator for 20 minutes.
- 14
Step 14
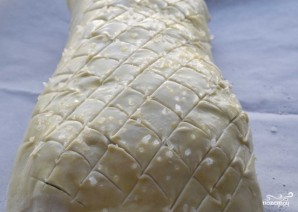
After the time has elapsed, remove, decorate if desired—I can't do without it—and sprinkle with coarse salt.
- 15
Step 15
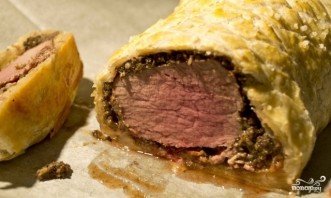
Now place our meat in a preheated oven at 180 degrees. Cooking time depends on how well-done you like your meat. For example, I baked mine for about 20 minutes, so it turned out medium-rare. But of course, you can increase the cooking time if desired. When you take the meat out of the oven, let it rest for a few minutes. If you cut into it immediately, all the juices will run out. Well, that's it—everything's ready. So, enjoy your meal!