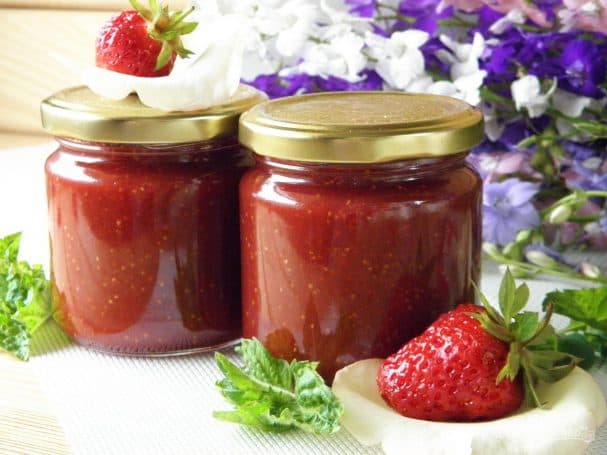
Strawberry jam for winter
Description
Winter preserves made at home. Recently I’ve switched from whole-fruit jam to jams. They’re incredibly beautiful and delicious, and the aroma is simply amazing. You open a jar in winter—and you can feel summer! The process of making strawberry jam is very simple; you only need a stainless steel pot with a thick bottom or a nonstick one, plus an immersion blender. The jam comes out medium-thick; for a denser texture, you can add gelling agents. Watch and remember. Store in a cool, dark place.
Instructions
- 1
Step 1
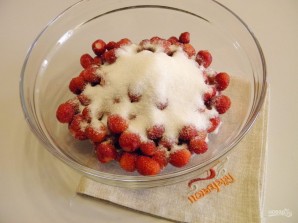
1. To make the jam, you will only need fresh strawberries and sugar in a 1:1 ratio. Sort through the strawberries; do not use spoiled berries—use only ripe, healthy ones. Rinse them well under running water to remove dust, then drain in a colander so the water runs off. Remove the stems and place the berries in a deep bowl. Sprinkle generously with sugar and shake the bowl so the sugar works its way inside as well. Let the strawberries release their juice for 2–3 hours.
- 2
Step 2
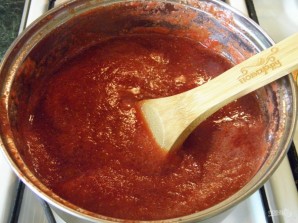
2. Use a double-bottomed saucepan so the jam does not burn. Transfer the strawberries with the syrup and puree with an immersion blender until smooth. Bring the jam to a boil, reduce the heat to low, and cook the jam down by half. Stir occasionally and skim off the foam. Jam cooking time varies; it depends on the variety, how much water is in the strawberries, and how vigorously the jam boils. It took me an hour to reduce it.
- 3
Step 3
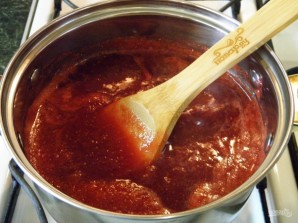
3. You can tell the jam is ready: it turns a darker color and becomes slightly thicker. If you drop some onto a saucer, the drop does not spread but slowly slides down. The jam is ready!
- 4
Step 4
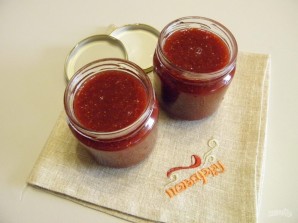
4. Fill the pre-prepared sterile jars with jam, screw on the lids, and turn them upside down until completely cooled. Then you can store the jam in a dark place.