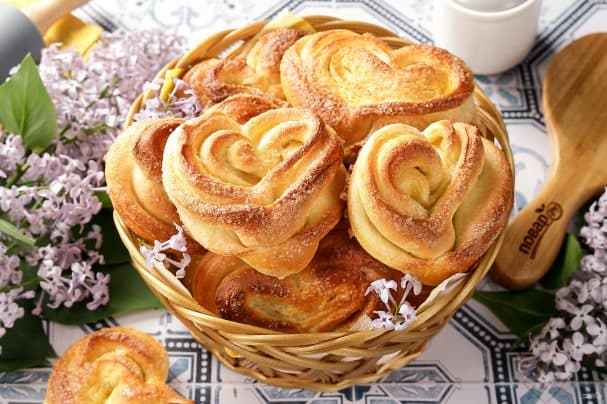
Buns pлюshki
Description
Although making buns takes longer than one might wish, the process itself is quite simple, and the result is definitely worth it! These buns make a perfect choice for a family tea time or for welcoming cherished guests. Thanks to their special shaping technique, these buns take on a traditional, easily recognizable heart shape. For many, this pastry brings back childhood memories, evoking feelings of warmth and homely comfort. Arrange a tea party with homemade buns—these are not at all difficult to make, and the photo recipe will help you master all the nuances. Serve with tea or coffee.
Instructions
- 1
Step 1
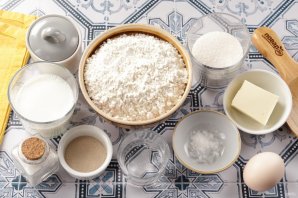
Prepare all the ingredients from the list.
- 2
Step 2
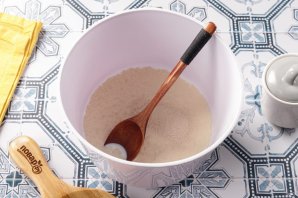
In a deep bowl, combine warm milk (reserve 1 tsp of the milk for brushing the buns), warm water, 1 tbsp of sugar, and yeast.
- 3
Step 3
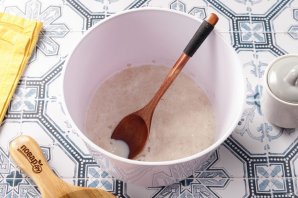
Mix and let stand for 15 minutes.
- 4
Step 4
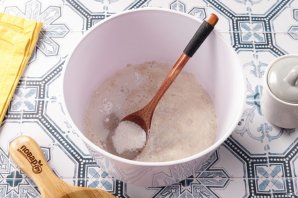
Then add the remaining sugar, salt, and vanillin.
- 5
Step 5
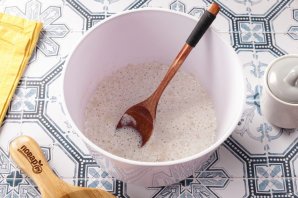
Mix.
- 6
Step 6
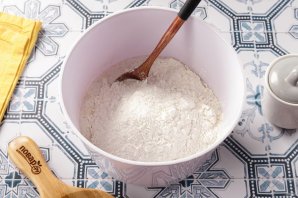
Add about 300 grams of flour. Mix.
- 7
Step 7
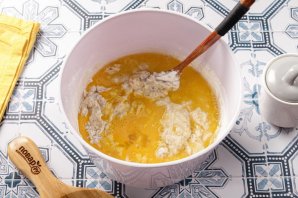
Beat the egg well and set aside 1 tablespoon of the egg mixture (to brush the buns). Add the remaining egg and melted, cooled butter to the dough.
- 8
Step 8
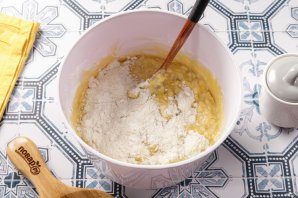
Mix and start adding the remaining flour in parts. You may need a little more or less flour; I used approximately 70 grams more.
- 9
Step 9
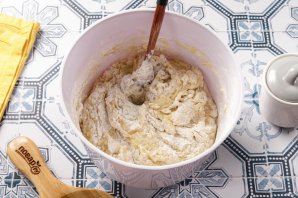
First mix the dough with a spoon, then continue kneading by hand.
- 10
Step 10
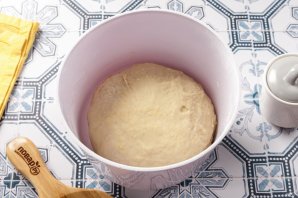
The dough is ready when it becomes smooth and no longer sticks to hands or the work surface, but it should not be elastic and dense. Grease a clean bowl with vegetable oil, shape the dough into a ball, and place it in the bowl. Cover with plastic wrap or a towel and let rise in a warm place for 1 to 1.5 hours.
- 11
Step 11
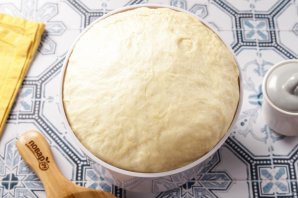
This is how the dough looked after 1 hour and 20 minutes. It's ready when it has increased by 2.5 times and is just about to start collapsing.
- 12
Step 12
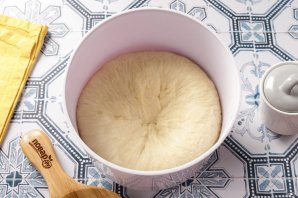
The risen dough needs to be punched down.
- 13
Step 13
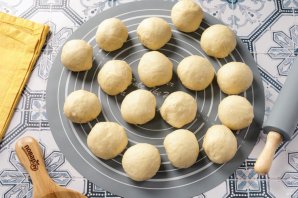
Then divide the dough into 12–18 pieces (depending on the desired size of the buns). I got 17 pieces, each weighing about 60–63 grams. Round each piece by tucking the dough underneath. Cover with plastic wrap or a towel to prevent the dough from drying out.
- 14
Step 14
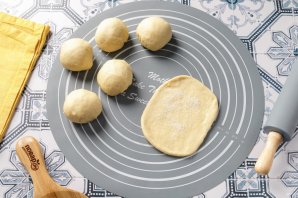
Lightly grease the table or mat with vegetable oil. Slightly flatten a round piece of dough into a flat disc and roll it out to a thickness of about 0.5 cm. Brush the disc with soft or melted butter and sprinkle with sugar (about 3-4 pinches).
- 15
Step 15
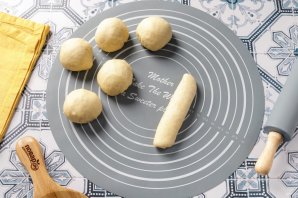
Roll the flatbread into a roll.
- 16
Step 16
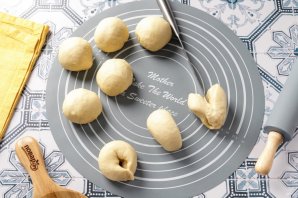
Fold the roll in half, keeping the seam on the inside, and pinch the edges together. Cut the piece from the side opposite the seam, making a cut but not all the way through.
- 17
Step 17
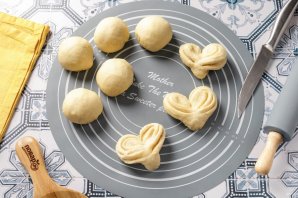
Unroll the bun with the cut side up and gently separate the layers. This way, we'll get cute heart-shaped buns.
- 18
Step 18
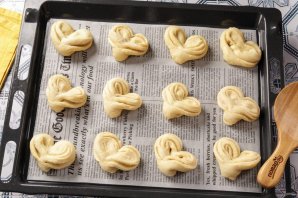
Place the buns on a baking sheet lined with parchment paper or a baking mat. Shape all the buns this way. Cover with plastic wrap and let rise for 15–20 minutes.
- 19
Step 19
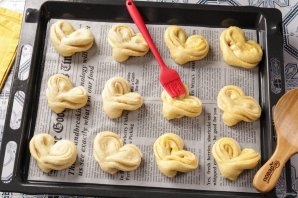
Beat the reserved 1 tablespoon of egg with 1 teaspoon of milk, gently brush the buns, and optionally sprinkle them with sugar.
- 20
Step 20
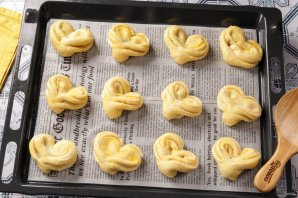
Bake immediately in a preheated oven at 190 degrees Celsius for about 16 minutes, until golden brown. Exact baking time may vary depending on your oven. Cover the baked buns with a towel and let them cool.
- 21
Step 21
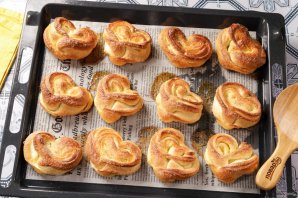
While the first batch is baking, prepare the remaining ones in the same way and leave them to rise. The buns will rise significantly, so leave enough space for expansion.
- 22
Step 22
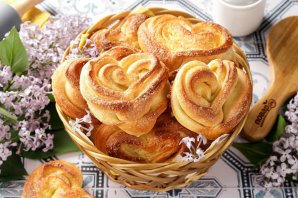
The buns are ready. There is no filling per se in these buns; they use butter and sugar, so the buns always rise well and bake evenly. Perhaps this is one of the easiest yeast-based pastries to start with when getting acquainted with yeast dough and baking.
- 23
Step 23
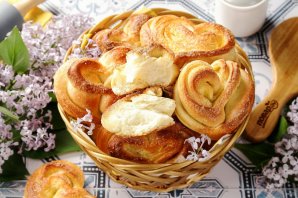
Sweet buns with sugar can be shaped in various ways, but the heart or butterfly shape is probably the most impressive, beloved, and familiar method for everyone.